

Packaging Insights & Industry Guides
Discover expert tips, structural design trends, eco-friendly practices, and packaging strategies to elevate your brand.
Choosing Custom Rigid Drawer Boxes involves more than matching a color to your brand. The box must protect its contents, slide smoothly, and feel considered when opened. Small details matter. A few millimeters can make an insert buckle or let a product shift during delivery. That difference is easy to miss in a digital mockup.
The right choice depends on the product’s dimensions, weight, and handling needs. Consider board thickness, drawer construction, surface finish, and the fit of any inserts. A heavy glass jar needs different support from a lightweight fabric accessory. Measure the product itself, including any wrapping, then check that the drawer opens without catching. Requesting a physical sample can reveal issues that a screen cannot.
These seven tips will help you compare options and ask suppliers more useful questions. Check tolerances, material details, printing quality, and how the box performs with the real product inside. A polished sample is encouraging, but it does not guarantee every production box will feel identical. Ask how consistency is checked, and clarify specifications before approving an order. It is tempting to focus on appearance alone. Yet a beautiful box that sticks, dents, or wastes space may disappoint customers—and cost more than expected.
Identify the Intended Use and Storage Requirements
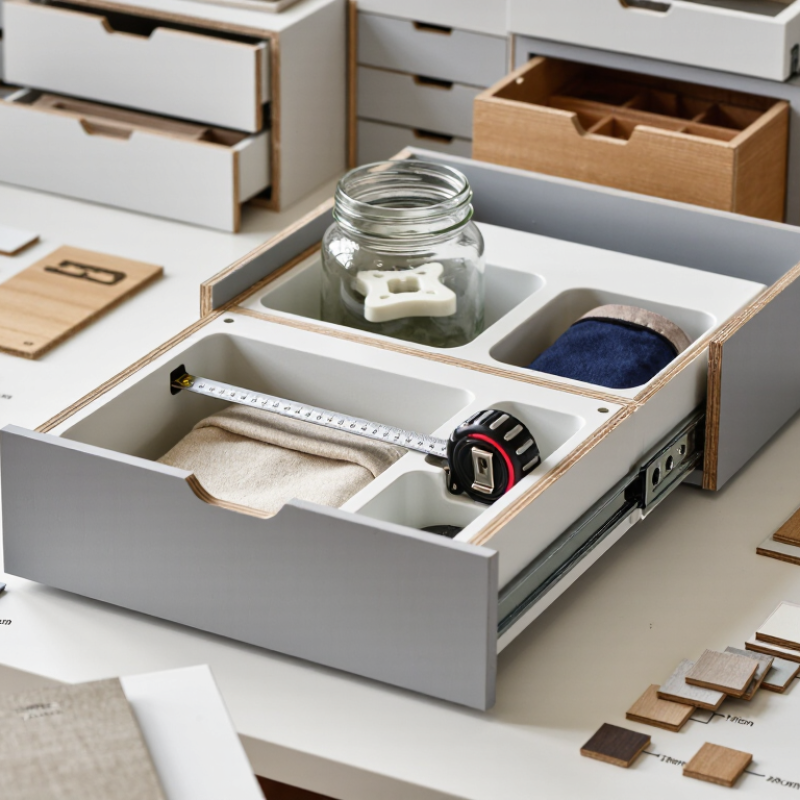
A custom rigid drawer box should fit the items it will actually hold, not an imagined ideal load. List the contents, then note their dimensions, weight, and how often you need them. A shallow drawer may suit stationery, while taller sides can protect folded textiles or small tools. Tip: Measure the largest item, including handles or packaging. Leave enough clearance for easy removal.
Consider how the drawer will be used each day. Frequently accessed items need a smooth opening and clear visibility; occasional storage can prioritize capacity. Heavy contents call for sturdy construction and a base that resists sagging. For delicate objects, dividers or a soft lining can limit movement. Small details matter. A divider placed too tightly can make useful space frustrating.
Check the storage setting before choosing materials and finishes. A bedroom drawer has different demands from one near a sunny window or in a humid room. Measure the available cabinet opening, and account for runners and surrounding clearance. I would recheck those measurements; estimates can be surprisingly easy to get wrong. Tip: Test the layout with a simple paper mock-up before confirming the box dimensions.
7 Tips for Choosing Custom Rigid Drawer Boxes - Identify the Intended Use and Storage Requirements
| Tip | Intended Use | Storage Requirements to Check | Practical Box Design Guidance |
|---|---|---|---|
| 1. Define what the box will hold | Small accessories, stationery, keepsakes, or presentation items | Measure the longest, widest, and tallest items, including any inserts or protective wrapping. | Specify usable interior dimensions. Allow enough clearance for easy placement and removal without letting contents shift excessively. |
| 2. Consider the contents’ weight | Light items such as cards versus heavier items such as metal accessories or glass objects | Estimate the total loaded weight and note whether the box will be lifted, carried, or kept stationary. | Discuss board thickness, drawer base support, and construction with the manufacturer. Heavier contents may need a more robust structure and a securely attached pull. |
| 3. Plan for fragile or delicate items | Glassware, ceramics, electronics, or easily scratched products | Identify surfaces that need protection and whether the contents can move or contact one another. | Consider a fitted insert or cushioning. Make sure the insert holds items in place without applying damaging pressure; a rigid box alone is not a substitute for protective packaging. |
| 4. Choose compartments for organized storage | Sets of products, tools, jewelry, or multiple small components | List the number of items, their individual dimensions, and which items should be stored separately. | Use dividers or a compartmented insert sized to the contents. Check that partitions do not obstruct the drawer opening or reduce access to smaller items. |
| 5. Match the opening to access needs | Frequently used items, display packaging, or keepsake storage | Decide how often the drawer will be opened and whether users need to reach the contents with one hand. | Choose a pull style that is easy to grip and leave enough room for the drawer to slide out. For repeated use, prioritize smooth movement and a well-fitted drawer. |
| 6. Account for the storage environment | Retail shelves, office drawers, closets, or long-term keepsake storage | Check available shelf or cabinet space, stacking plans, and exposure to moisture, heat, or sunlight. | Confirm the outside dimensions fit the storage location. Keep paper-based rigid boxes in a dry environment and avoid placing them near persistent heat or moisture. |
| 7. Confirm how the box will be transported | Gift presentation, shipping, event distribution, or hand-carried storage | Consider whether the box will travel alone or inside an outer carton, and whether contents could shift in transit. | For shipping, use suitable outer packaging and protective material around the rigid box. Test a filled sample to check fit, drawer retention, and protection before ordering in quantity. |
FAQS
Measure the usable cavity, not the cabinet opening. Check width, depth, and height at several points. Use the smallest measurements. Measure twice.
Side-mounted slides need clearance on both sides. Subtract the required clearance from the cavity width. Allow space for rear sockets and cabinet obstructions.
Confirm which dimensions are listed. Thick walls reduce usable space. Try a cardboard mock-up, especially for tall items or divided compartments.
Ask for board thickness and compression details. A dense board can make firm walls, while a lighter grade may suit small items. Samples can be misleading.
Textured paper can hide fingerprints and feel quiet to the touch. Gloss finishes wipe clean, but layered materials may be harder to recycle.
Consider reinforced corners or a folded front for heavy contents. Test a loaded box repeatedly. A prototype can still sag after weeks.
Put internal dimensions, wall thickness, clearances, inserts, finish, and color tolerance in writing. Request a sample made with the intended materials.
Check production, tooling, inserts, packing, freight, and setup charges. Confirm order minimums and payment dates. Ask whether delivery dates mean dispatch or arrival, and leave time for inspection. Small details slip through.
Conclusion
Choosing Custom Rigid Drawer Boxes begins with understanding what they will hold, how often they will be used, and what storage conditions they need to withstand. Measure the available drawer space carefully, allowing for clearance, and select dimensions that keep the boxes accessible while making efficient use of the area. Consider suitable materials, finishes, and structural features based on the intended contents, desired appearance, and expected level of use.
Before ordering, compare available customization choices and assess manufacturing quality, including the consistency of dimensions and construction. Confirm all specifications, quantities, pricing, and delivery timelines in writing so expectations are clear. Taking these steps helps ensure the finished boxes fit the space, meet practical storage needs, and provide a well-made, cohesive solution.